

Last month I made serving boards for the restaurant Cotogna.
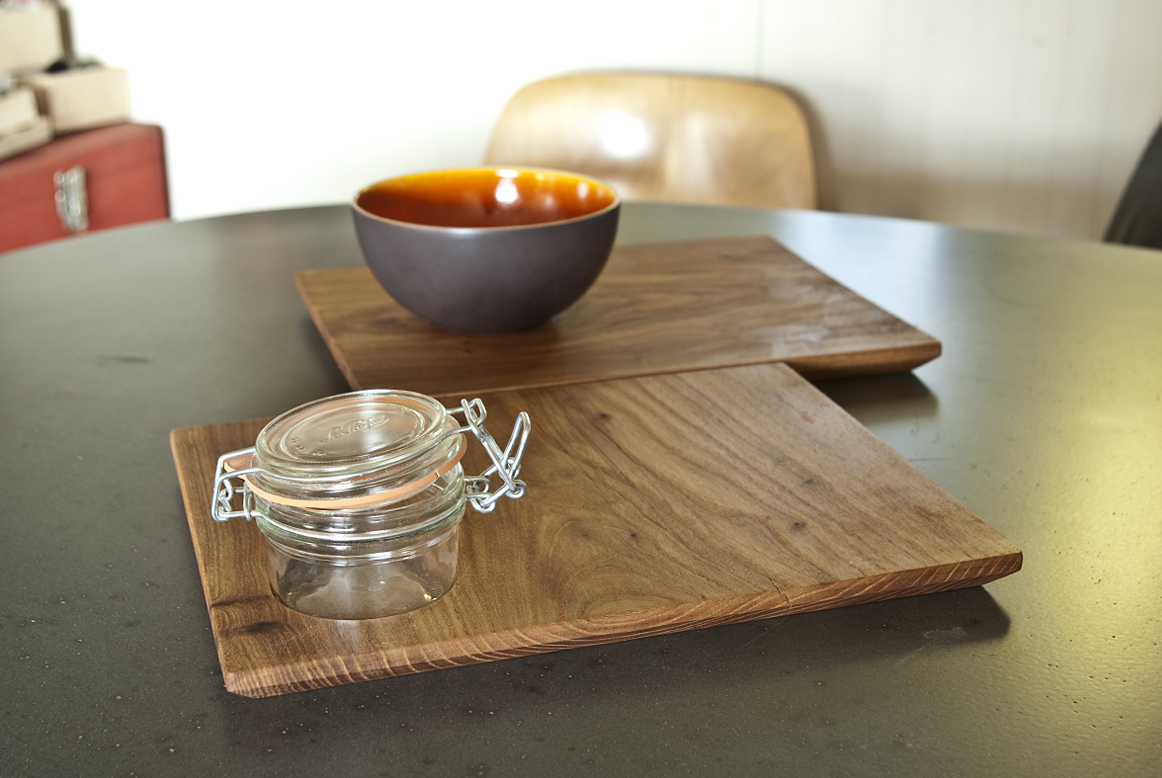
The restaurant already had some wood serving boards, so the new boards needed to roughly match what they had, except they would be longer, and each will have a groove for a bowl, or two grooves for small jars.
The existing boards were made from Elm, so I sourced the same wood from a mill called California Urban Lumber in Martinez. They had some long and wide boards of Red Elm, all from a single tree that grew in the bay area.
8′ long boards will just fit in my car, but they have to ride on the dash and press up against the windshield…

One of the first things I did was cut a template, exactly the size of the finished boards (9.8125 x 13″). This template was really helpful when cutting the wood down to size. I made the template from 5/16″ plywood, cut on the cnc router.

The mill was able to plane the boards down to the right thickness. In the same machine, the boards are then sanded with 60 and 120 grit sandpaper so they come out the other end looking real nice. They were so beautiful, it was almost a shame to cut them down.

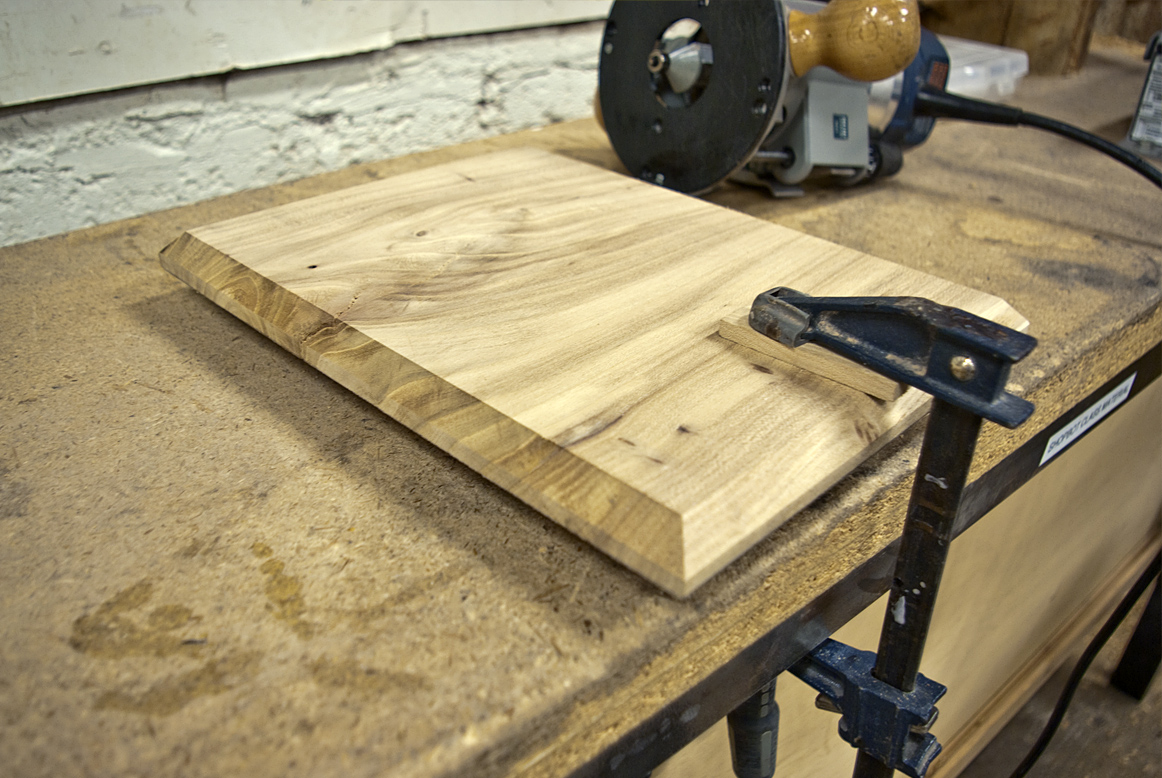
Cut to size on the radial arm saw, using the template as a guide.


Getting the grooves for the mason jar and bowl to fit just right took some time , but it was worth it. The fit should be tight, but not too tight. Deep, but not too deep. Sand the groove down a bit, but not a lot. Oil the board to make sure it doesn’t swell and ruin the fit, then make the rest.

The boards with one groove, for the bowl, were all cut by hand with a hand router and a 1/2 inch end mill. The boards for the jars I cut on the CNC router using two bits. This was more efficient and more precise than trying to do it by hand, but it’s still tricky getting everything cut when there’s not much extra room to screw the wood down.

The first pass cuts the grooves. It is a 3/4 inch ball nose bit which creates a profile that almost exactly matches the mason jar.

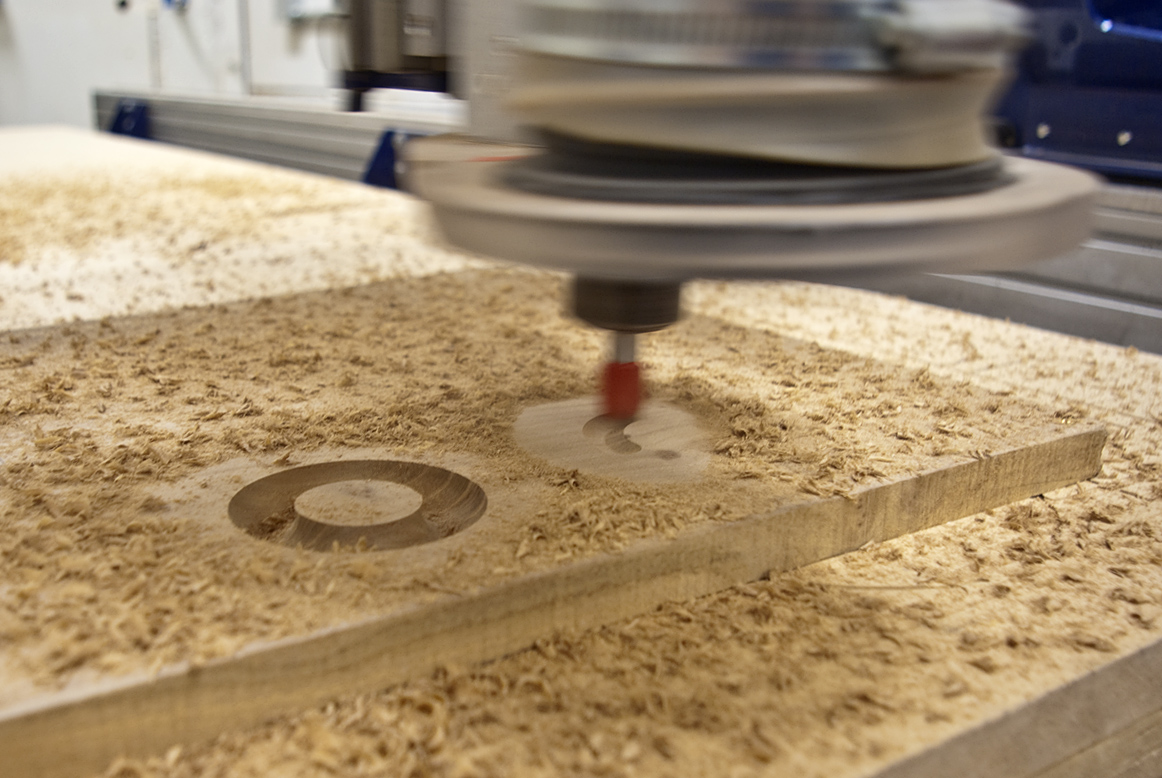
After those grooves are cut, the bit is changed to a 1/4 inch end mill. This bit will go back inside the hole to remove what’s left, leaving a flat bottom in the hole, then it will cut the perimeter of the board.


When all of the boards are cut, it’s time to flip them over and route a bevel on the back side. At this point, if you’re exhausted, be careful not to route the groove on the top side! When that happens, flip all of the boards upside down and you won’t make that mistake again.
This was fun. The trick to keep the end grain from burning was to turn the speed all the way up and go fast! Two passes for each side.
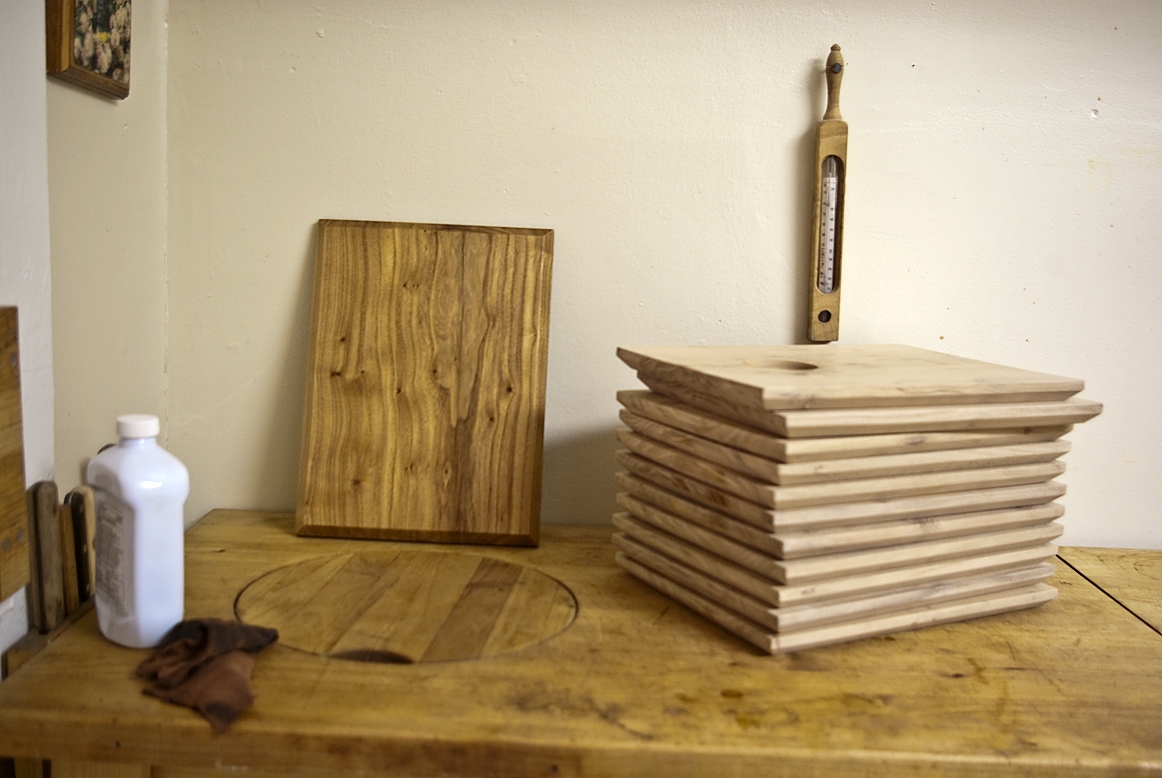
Then comes the very tedious and dusty part. The backs and tops are sanded with the orbital up to 220. then the top is sanded with 400. the edges and bevel are sanded to 220 by hand with a sanding block. inside the grooves is rough sanded to remove tool marks, then sanded until the jar or bowl fits snug. all of the edges are rounded slightly along the way.

with everything sanded (like 8 hours later), the pieces are wiped down and then lathered in mineral oil.
once a day for a week, once a week for a month, once a month for a year, once a year for a lifetime.


Chef Tusk with the boards to his right at FOG Fair 2015. Photo by Stanlee Gatti.