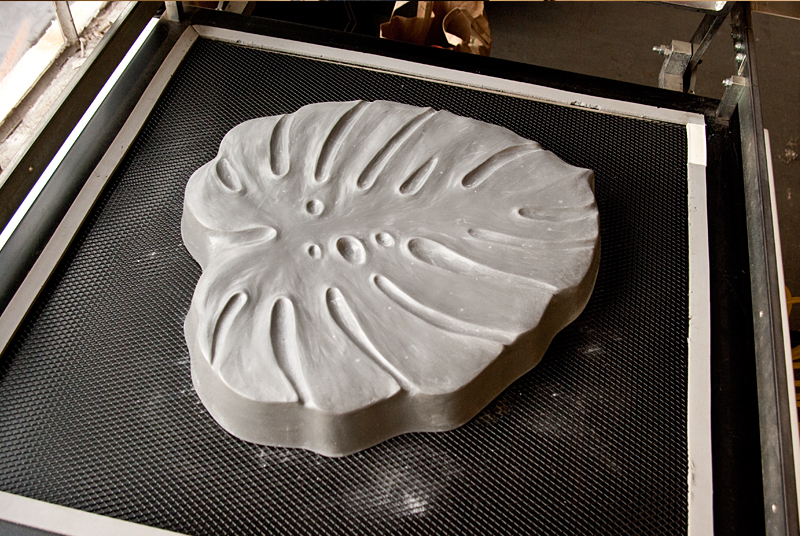

Demold Rubber: After about 12+ hours, the rubber mould has cured. First remove the form walls and then gently pry up on the rubber with a plastic putty knife.
The rubber should pull off easily with almost no damage to the original plasticine piece.
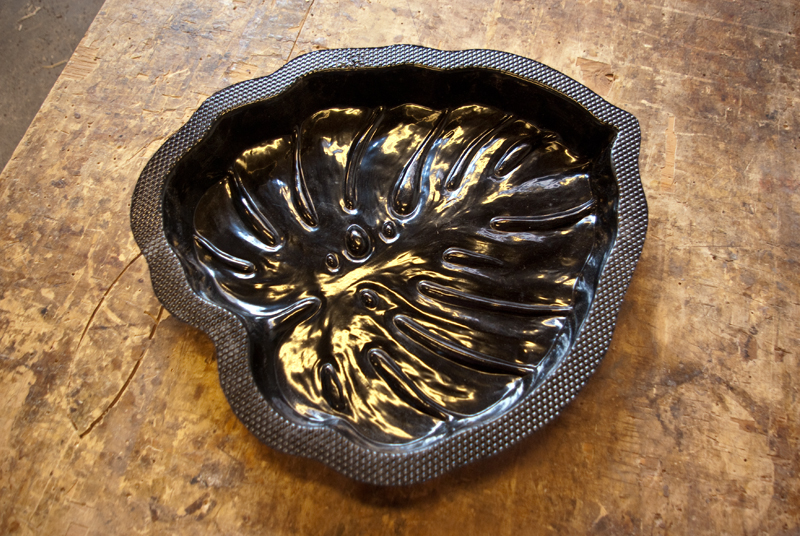
The rubber picks up EVERY detail from the original piece, which is really kind of remarkable.

With the mould finished, it’s possible to cast multiple pieces that are basically identical to each other.

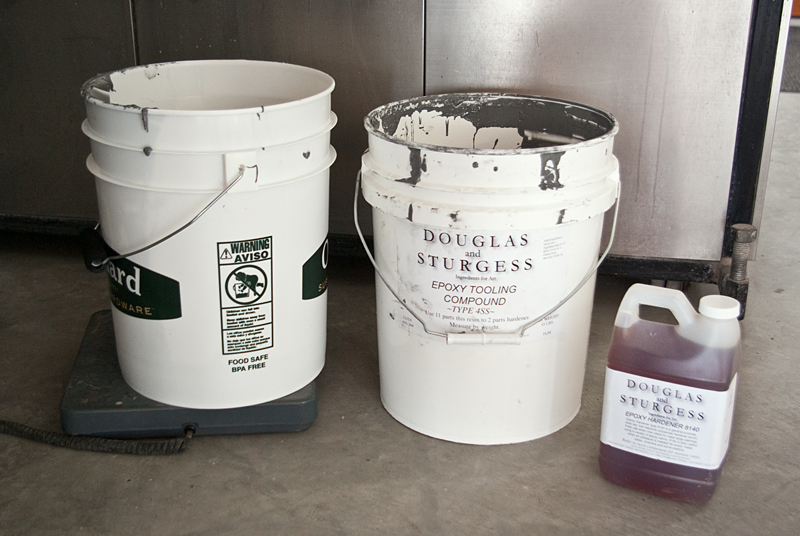
Mixing Epoxy Tooling Compound: The epoxy tooling compound is a 2-part epoxy with at lot of aluminum added. It is incredibly thick and very difficult to mix (the spot welds will break on cheap jiffy paddles). It’s ideal for vacuum forming on a more industrial scale, because it can withstand the heat of melted plastic being pulled down onto it, over and over and over. The ratio is 11 parts resin to 2 parts hardener. I filled the rubber mould with water and it holds about 6 quarts, and I know that 1 quart of epoxy tooling compound weighs about 2 lbs. 6 oz. – so from that I know that I need to mix up about 14 lbs. of epoxy to fill the form.

The mixing is pretty serious work because this stuff is the consistency of taffy. A 1/2″ corded drill and a strong paddle attachment will work. The cheap jiffy paddles will break apart at the spot welds when trying to mix stuff that’s this thick. You need a helper to hold the bucket because the torque of the drill will just spin it round and round. Use a trowel to scrape the sides and bottom of the bucket to make sure everything is well mixed.

Double bucket mixing is a really good idea. Mix the epoxy well in one bucket, then pour it in a second bucket to make sure no unmixed material ends up in the form.

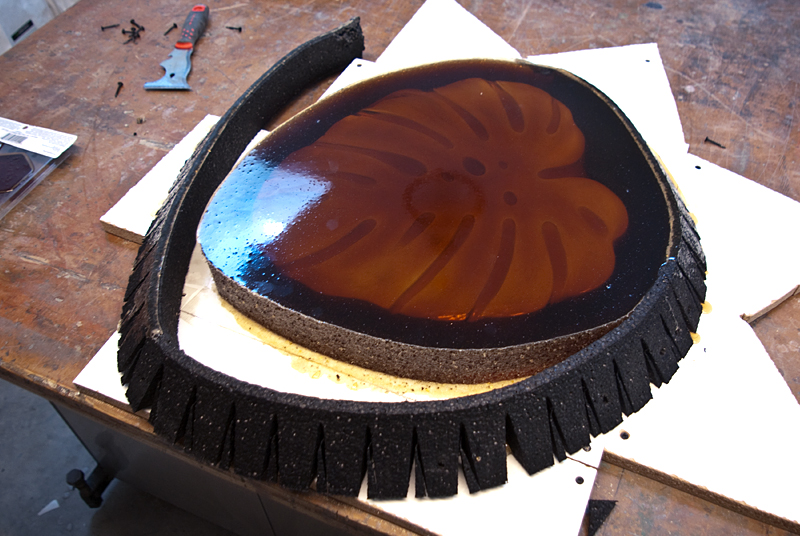
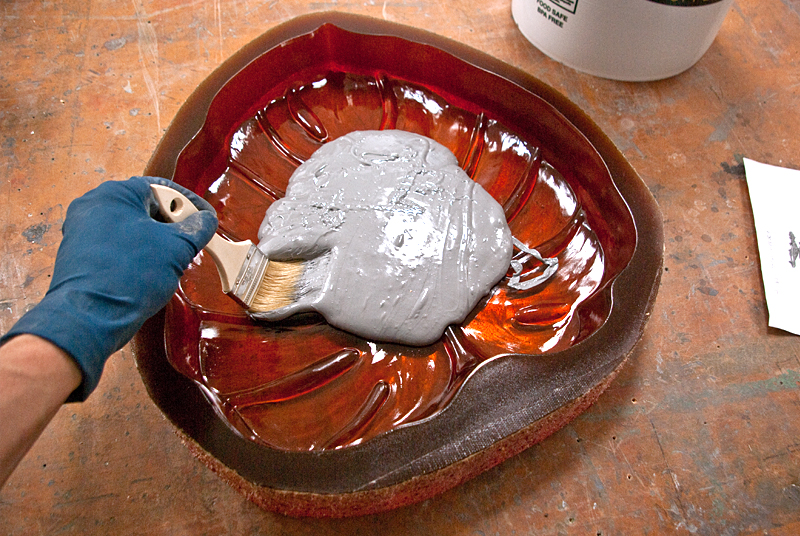
Pour the epoxy into the rubber mould and use a chip brush to smooth it onto the surface. This helps break up any air bubbles and will give the piece a more uniform finish.
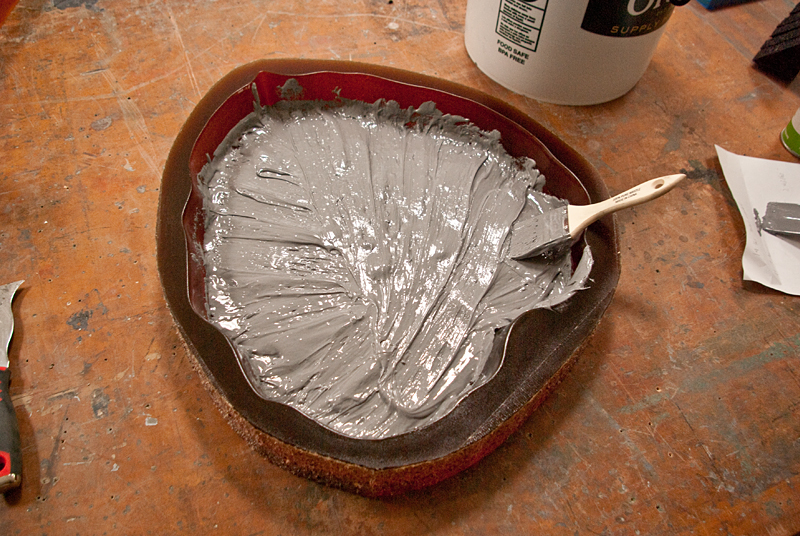
Brush up the side walls too, and then fill the mould with epoxy, leaving some space to float the foam knockout in.
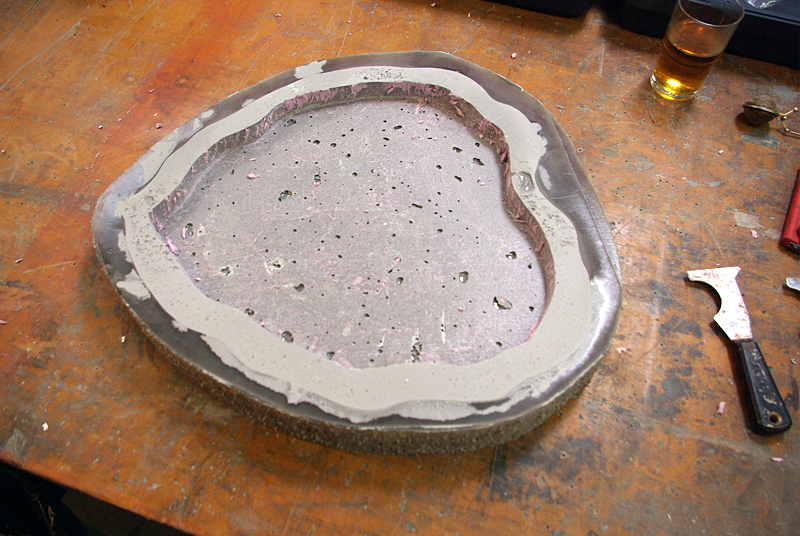
There’s a piece of 1″ thick pink insulating foam that’s cast into the piece, to take up space so you use less material, and to make it easier to drill the very small holes for vacuum forming. Foam will float, so it needs to be weighted down.

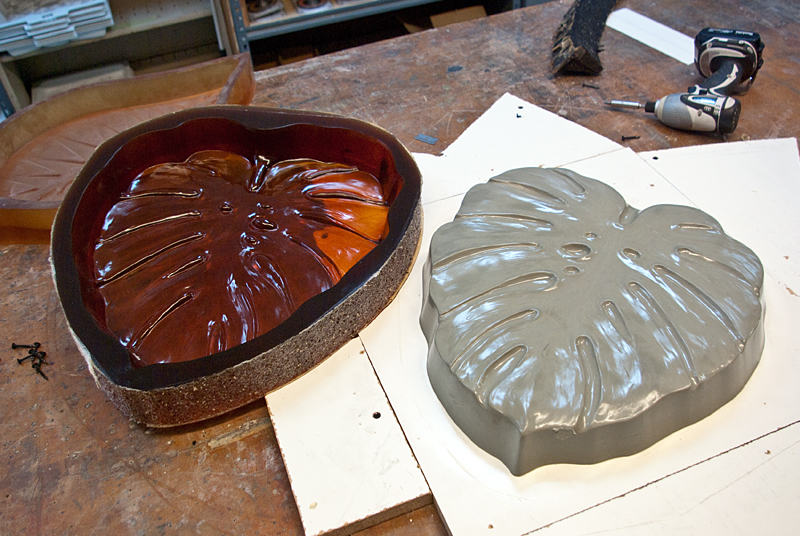
Demolding the Epoxy: After the piece has cured, the weights can be removed. This piece of 3/4″ melamine was holding the knockout down, and it’s taped on the face so the epoxy doesn’t stick to it. If the piece weren’t taped, the epoxy is liable to break in bad ways when the melamine is removed, which can leaves some chips in the finished piece. There are much more elegant ways to float the knockout, but this works.

The back of the piece can be sanded flat with an orbital while it’s still in the form.


Use something to break apart the foam. Putting clear packing tape on the foam before casting will speed this step up.

With the foam is removed, it’s time to drill some very small holes for vacuum forming.

Drill #60 holes: At a decent hardware store, the smallest drill bit you can buy is #60. At a good hobby shop you will find smaller bits, but #60 is small enough for vacuum forming. Basically the vacuum former needs to pull plastic down over the positive, so it’s important that holes are drilled throughout the piece, especially in the shallow sections of the part.

Drilling is done on a drill-press, at a low speed. The trick is to make sure you drill completely through the piece, but be gentle, because these small bits don’t like angles and will break. Try to drill on flat sections or the bit will wander and scratch the surface. The friction of the bit can heat up the epoxy and cause the holes the melt and close up, so try to be quick when drilling the holes.


Later the back of the piece will be supported with sections of a wood dowel, to keep it from collapsing on industrial sized vacuum forming equipment. Draw circles around the holes so you know where to place the dowel rods later.
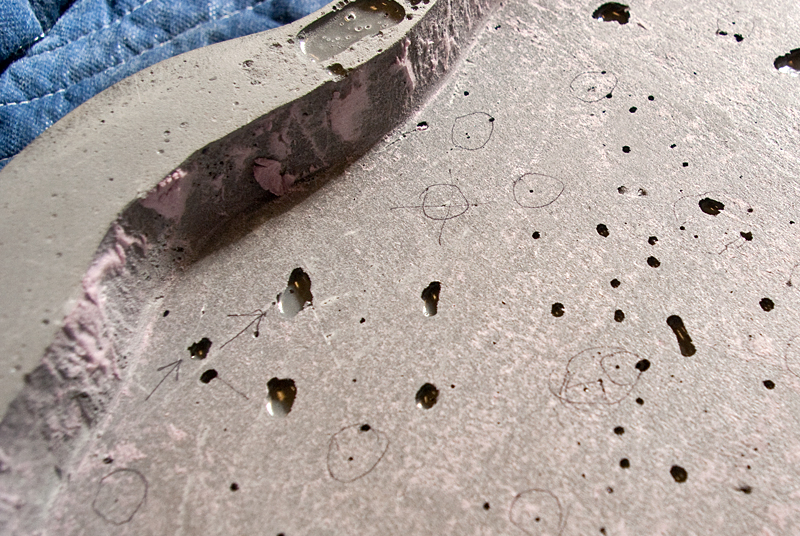
The drilling is complete on the piece on the left, but the holes are so small you can’t really see them in the photo. The piece on the right still needs to be drilled.

Vacuum Forming: Place the piece on the bed of the vacuum former. Baby powder works well as a form release, especially on wood or MDF positives after they’ve been waxed. The epoxy tooling compound doesn’t need a release, but I rubbed baby powder on it just to be safe.

The plastic I used for this test is 3/16″ thick ABS. It was heated for 160 seconds, with all zones set to level 4, or about 75% maximum heat.


The plastic is released from the positive and the excess is trimmed away with the band saw. Then the edges are sanded smooth and it’s ready for casting concrete.

From the concrete piece we’ll be able to see any problems with the masters, and they can be filled with bondo or sanded down before they’re sent mounted on a plywood base board and sent to the vacuum former as a 2-up, using 1/4 sheet of 4’x8′ plastic each time they’re pulled.